Replacing a tap washer
Changing a washer to fix a dripping tap is a fairly easy skill to acquire and could save you time and money. Plumbers are not cheap and it is surprising how much water is lost from a steadily dripping tap. Below is a step by step illustrated method for changing a tap-washer.
-
Locate and turn off the mains water valve
The main water supply valve to the property is usually located on the road frontage and is connected to the water metre. It may be exposed and quite obvious or be contained in a box with or without a lid (see image). Always inspect for spiders, snakes or other pests before you stick your hand into the box. To shut the valve turn it clockwise until it is off and cannot be turned any more. Be aware that certain appliances may be using water in the house so pick an opportune moment for this task.
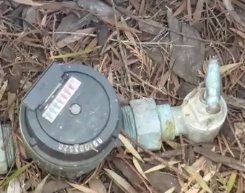
Water meter and mains shut off valve
-
Removing the top of the tap
Grip the body of the tap with a pipe wrench (red) in order to support it while turning the nut of the top of the tap with an adjustable wrench (black) in an anti-clockwise direction (see image). Be sure that no strain is placed on the connection between the tap and the feeder pipe leading into the tap. Any stress to this connection could lead to a serious leak which may not be easily repairable. Once the top of the tap is lose it can be screwed off by hand.
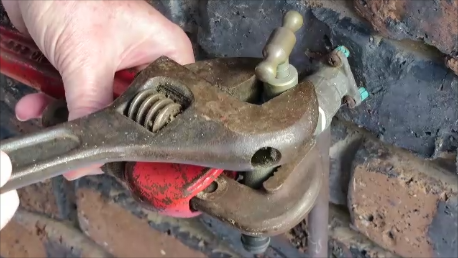
REMOVING THE TOP OF THE TAP
-
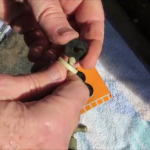
Locating and replacing the tap washer
Once the top of the tap is removed the plastic or brass housing for the washer will be visible. (see image) Remove the washer and housing from the tap and inspect the seat of the washer inside the body of the tap. The seat should be a smooth, polished, circular ledge. If there is any damage or corrosion of this seat replacing the tap-washer may not stop the drip and in rare cases a whole new tap may be necessary. Remove the washer from the housing by either clipping it off the plastic housing or by removing the nut securing it to the brass housing (see image). Taps and their washers usually come in one of two sizes, half and three quarter inch (see Image). Tap-washers can be purchased from most hardware stores. Alternatively in the case of the more modern taps with the plastic washer housing the washer and housing can be purchased as a single unit. The new washers can be clipped on in the case of the plastic housing or screwed on in the case of the brass housing.
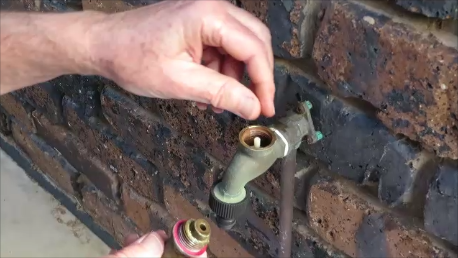
Tap top removed tap washer visable
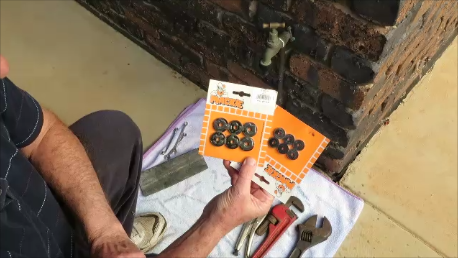
Older type tap washers
-
Fit new tap washer
-
Re-assembling the tap

Replace the new tap-washer and housing in the tap with the washer facing downwards (see image). Then re-assemble the tap remembering to support the body of the tap with the pipe wrench before tightening the top of the tap with an adjustable wrench in a clockwise direction. This joint does not have to be very tight, just enough to prevent leakage.
- Turn on the mains valve again and check the tap for leaks.
- Job done.
For a video demonstration click on the You Tube link below:
Here is more useful information
Comments are most welcome, try this and send us some feedback☺️ Why not visit our YouTube channel and browse through our other videos? http://www.youtube.com/c/AnnErasmus
Short Disclaimer/disclosure: My videos/articles are for informational and educational purposes only, you should consult with a professional before attempting anything seen or done in my videos/articles. Please read full disclaimer above.