Create your first PowerPoint presentation in minutes
- This is a crash course in MS PowerPoint designed to get you up and running with your first PowerPoint presentation in a few minutes. It is designed help or rescue rather the first time user or novice who may have been asked by their boss or professor to present at a meeting tomorrow in PowerPoint. So I promise there are no frills to this PowerPoint tutorial for beginners.
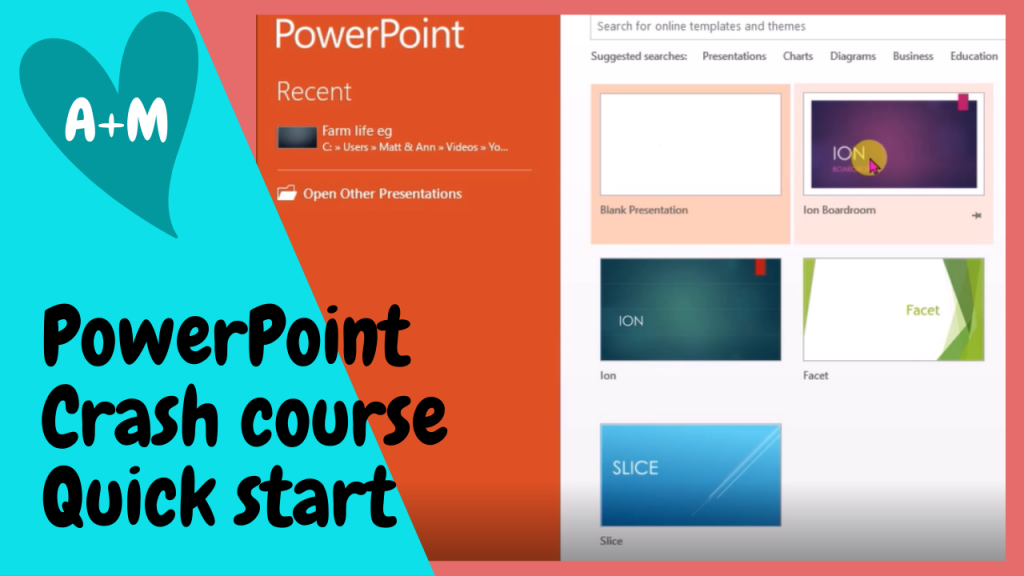
- Right here we go full steam ahead. Open PP from start menu or pinned icon if you have one.
- I am using MS PP 2013 but don’t worry if yours is a different version it will be much the same for future and past versions of power point.
- Select any theme, forget about pretty at this stage, you can come back anytime and neaten and beatify if you have time to spare. PowerPoint is a very powerful program with many options which can be found by clicking the menu of tabs and then searching the ribbon displayed under each tab for the specific feature. Don’t panic though you don’t have to understand all this to get your first presentation up and running.
- Slide 1 enter you title and subtitle – If you have a presentation ready in MSWord and or Excel that is great because this suite of Microsoft programs are all related and compatible. This will save tons of time.
- This is when I start saving as with all MS programs go File-save as- (browse to a folder on your computer or the cloud) –give it a file name and save. This now always me to save quickly at any stage in the development of the presentation and particularly just before I am about to try something that I am not sure will work, so I can always go back. And if for any reason your computer crashes you’ll be OK. You don’t want to lose everything after 5 hours of work.
- Now for the next slide Home tab and ‘new slide’ gives you options of layout for you new slide. If you want the layout the same as the slide above then a useful short cut is CTL-M or right click on the slide above.
- On the second slide I very often put an index or menu for the rest of the presentation this , I find allows me to plan the outline of the presentation and then to add and populate my slides in a methodical manner.
Index slides
1. Early morning coffee

2. Checking the farm

3. Getting the tractor out

4. End of the day

- The third slide will be the first item on the menu or index. It is often helpful to tell your audience what you will be covering right in the beginning. The options are for populating a slide include typing, copy and pasting from word or excel and inserting pictures or graphics. So if you have a presentation already prepared in word for instance it will be plain sailing from here egs and your menu will help keep you on track and in sequence. Can insert text boxes and objects etc
- Here are a few tips to keep your audience awake. 1. Keep text to a minimum use lots and pictures a picture is worth a thousand words because our brains think in images not numbers or letters ( think of word tractor with a paragraph describing it then compare that with an actual image of a tractor – which does your brain prefer?) and graphics. Periodically insert a slide which gives the audience a rest from information overload like a tasteful cartoon on the theme or a photo of a beautiful scene etc. Use animation sparingly it can be distracting and irritating for some people.
- It is good idea to get into the meat of your subject as quick as possible but at the end leave your subject with a slow thought provoking exit.
- Just a few words about tidying and neatening. Can change whole theme or just variation on theme – colours etc. You can move slides up and down by dragging to change sequence. Cutting and pasting objects from one slide to another. Think about some animation or transitions but don’t over do it only use it if it makes your message clearer, don’t show off, it irritates some people.
Notes are used as a prompt for the presenter to remember import things related to that slide. When in ’presenter’ mode the present can view his notes at the bottom of the screen but the slide the audience sees does not show them.
To change the slide or presentation theme – click ‘design’ tab then dropdown theme menu. Each theme has variants which has a dropdown menu to the right of themes menu. This changes colours and fonts etc.
The layout options are found under the ‘Home’ tab under layout dropdown menu. This changes the layout of each slide in terms of title, text box and photo positions on the slide.
This will be a lot clearer if you watch the YouTube video below.
Here is the video of this PowerPoint tutorial:
You may also find these tutorials useful:
Comments are most welcome, try this and send us some feedback☺️ Why not visit our channel and browse through our other videos? http://www.youtube.com/c/AnnErasmus
Short Disclaimer/disclosure: My videos/articles are for informational and educational purposes only, you should consult with a professional before attempting anything seen or done in my videos/articles. Please read full disclaimer here: https://basiclowdown.com/disclaimer-disclosure-page/