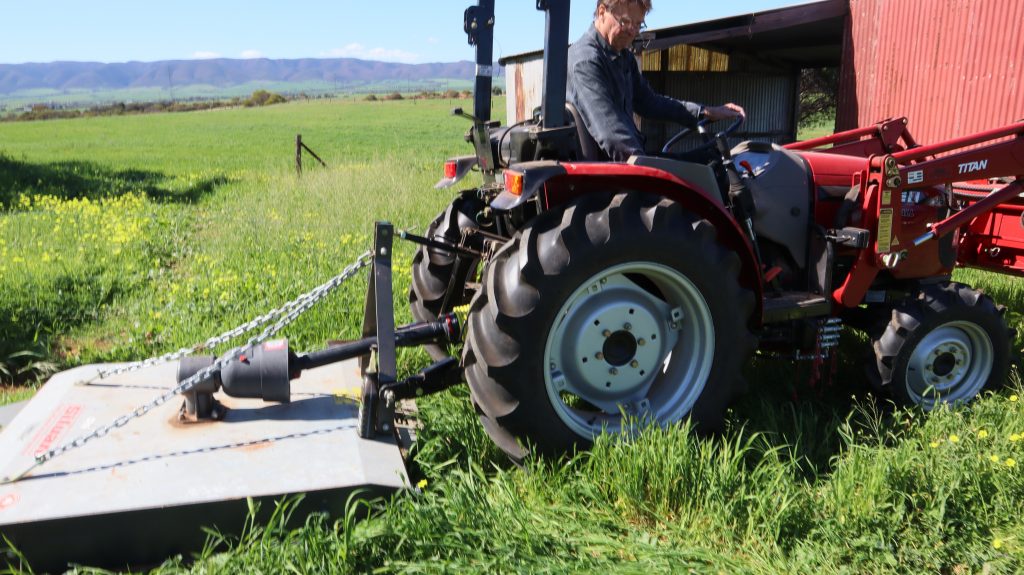
In this tutorial I will show beginners how to attach a grass slasher agricultural implement to a tractor’s 3 point linkage
It is best to use a step-by-step routine. Below is are the steps I usually go through when attaching an agricultural implement to the 3 point linage of a tractor.
- Safety – Read manufacturers safety instructions carefully. Underneath a rotary grass slasher is a heavy blade spinning at high speed, there is also a rotating drive shaft on top of the slasher, these are very dangerous bits of machinery. Keep well clear of them and never allow anyone to ride on the slasher.
- 3 point linkage has 3 points of attachment and they come in various sizes referred to as categories 1, 2, and 3. Make sure the tractor category matches the implement category they are not interchangeable although some implements may be fitted with 2 options.
- Try and work off level flat ground. It will be easier to line the tractor up with the implement.
- Reverse tractor up to implement as squarely as possible and line the tractors linkage points to those of the implement.
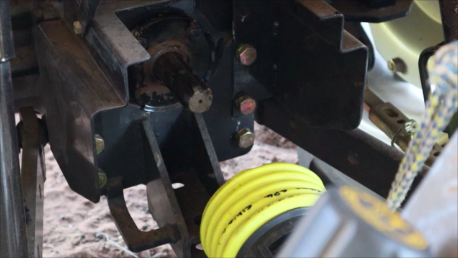
- Attach the 3 linkage points using the adjustable arms of the tractor to achieve the final connection. When attached replace adjustment pins on the tractor’s linkage arms and lock them in place. Insure that left and right are the same length so that the slasher is square and central to the tractor and cannot touch the tractor wheels.
- If necessary adjust the top linkage of the tractor until the slasher is parallel to the ground or slightly angled with the front of the slasher slightly lower. I find it cuts more efficiently this way.
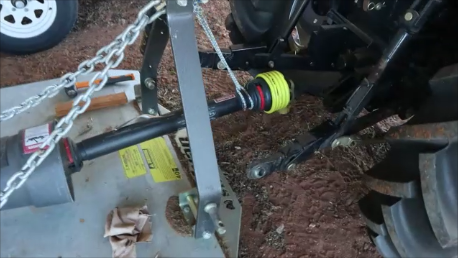
- Attach the telescopic arm of the slasher to the tractor’s drive spline by depressing the button of the locking mechanism then sliding the universal joint on and releasing the button to lock it in place. Check that it is locked.
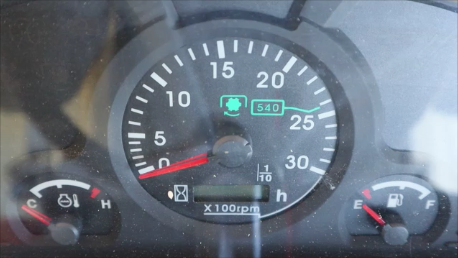
- To activate the drive shaft on the tractor some have a gear but this tractor is automatic and has a switch. In the ‘manual’ position the shaft won’t turn until the slasher is close to the ground. The height that the slasher cuts at can be set with the tractor’s hydraulic 3 point linage lever which conveniently has graduations. The slasher operates at 540RPM it is best to build up to that operating speed slowly to reduce the strain on the drive train.
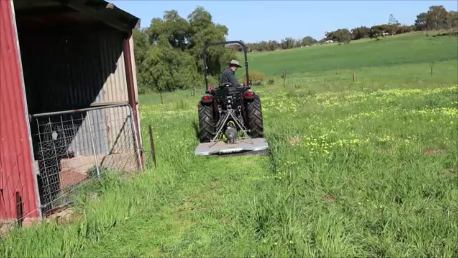
- So I lower it to cutting height and let it spin at low RPM first and then slowly raise the RPM until it reaches cutting speed and then I move off and start cutting.
The YouTube video can be accessed here:
Here are the key moments in the video:
00:00 Beginning
00:15 Safety advice using a rotary slasher on a tractor
01:08 How a tractor 3 point linkage works
01:42 Tractor 3 point linkage sizes or categories 1, 2 and 3
02:48 Positioning the tractor for attachment of implement to 3 point linkage
03:23 How to connect the driveshaft of the rotary slasher to the tractor PTO
04:45 Tractor 3 point linage adjustments
06:15 How to attach tractor and set up rotary slasher on 3 point linkage
09:12 Attaching the rotary slasher to driveshaft to the tractor PTO
11:11 How to operate the rotary slasher on the tractor
11:27 Rotary slasher on tractor operating RPM
12:13 Setting the cutting height of the rotary slasher on the tractor’s 3 point linkage
13:07 Grass slashing demonstration with the rotary slasher on the tractor
Comments are most welcome, if you decide to try this please send us some feedback☺️ Why not visit our channel and browse through our other videos? http://www.youtube.com/c/AnnErasmus
Here are some more tractor videos:
You might also find this useful:
Short Disclaimer/disclosure: My videos/articles are for informational and educational purposes only, you should consult with a professional before attempting anything seen or done in my videos/articles. Please read full disclaimer here: https://basiclowdown.com/disclaimer-disclosure-page/