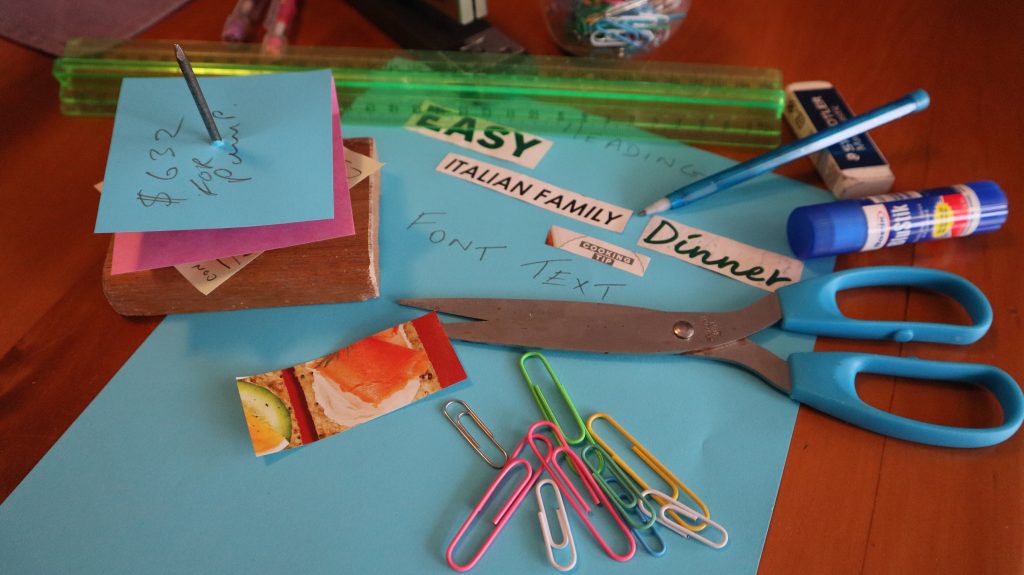
How to edit a document or article in MS Word by rearranging text
No matter what you use Microsoft Word for, whether it is a 1 page text article or a 500 page book manuscript, at some stage you will no doubt need to rearrange the text as you edit your Word document. In this video tutorial, for beginners, I will discuss and demonstrate how to use some of the features in MS Word to edit a document and rearrange the text to create an organised document. I will put links to any information mentioned below and in the video itself.
1. Highlight and drag method.
Highlight text, left click and drag, holding the mouse button down, to a new location then release the mouse button. This will deposit text in the line above the indicator bar. If you place the indicator bar in the middle of some text it will split the text and move it up to the next line.
2. Copy and paste method.
To do this highlight text-right click-copy (or Ctrl+C) then move cursor to where you want the text to be and right click-paste (or Ctrl+V). If you don’t want the text duplicated then use cut instead of copy.
3. Navigation pane method.
Here we need to discuss the use of headings in a document. Headings make the document neater and is easy to navigate and rearrange text in the document. To add a heading to the beginning of a section of the document. Type in an appropriate heading with a reference number and select the text of the heading then click on Home-Styles-heading. Note the heading needs to have its own line and not be part of a paragraph. Headings also have a hierarchy for example heading 1 will be larger font than the other headings like heading 2 or 3 for instance and will be progressively smaller and indented to the right. Now once you have headings you can open up the navigation pane click View-Show-Navigation pane. Now we can rearrange whole sections by clicking and dragging the heading to a new location, cool hey. But there are other cool features in the Navigation pane like search for a word and replace a word where ever it appears in the document. Navigate to a specific page or heading.
To remove a heading: It will be necessary to delete the formatting for that text. Select the text from which you want to remove formatting in Word. Select Clear All Formatting in the upper-right corner of the Font group on the Home tab of the ribbon. Any formatting applied to the selected text will be removed and the highlighted text will no longer be a heading in the Navigation pane.
Now before we leave the subject of headings another very useful feature of word, if you have headings, is that you can automatically create an index page based on the headings that you have created. To do this first insert a new page where you want your index or contents page to be. To insert a page first place your cursor where you want the new page to be then Insert-blank page. Now place your cursor on the top of the blank page and click on the References tab then drop down the menu of ‘Table of contents’ icon and select a style for your index or table of contents (it is easiest to just select one of the automatic options).
4. Windows Spike option
Select text press ctrl+F3, repeat for other sections of text. Spike unlike clipboard can hold many different selections without erasing the previous selection in Spikes memory but each selection must be followed by ctrl+F3. Then in a different document click ctrl+shift+F3 where you want the new passage of text to appear. It may be useful to use windows split screen feature here so that both documents can be worked on together. If you want to know how to use windows split screen then watch this video: https://youtu.be/YJN5RJliEeY . Note when you press ctrl+shift+F3 it will also clear spike’s memory so can only paste it once if you would like to paste it more than once then instead of ctrl+shift+F3 type the word spike and press enter to paste it and retain it in memory. Unfortunately Spike removes (cuts) the text from the source document, if you want to retain it in the original as well then immediately after pasting to the new document return to the original click ctrl+Z or Undo as many times as necessary to restore the original. The content returns to its original position in the source document.
Here are the key moments in the video:
00:00 Beginning
00:23 How to click and drag text in a Microsoft Word document
01:10 How to copy or cut and paste text in a Microsoft Word document
03:00 How to use Windows split screen feature
03:11 How to use Navigation Pane in a Microsoft Word document
03:54 How to search for a specific word in a Microsoft Word document
04:18 How to replace a word throughout Microsoft Word document
05:05 How to use Headings to rearrange text in a Microsoft Word document
08:36 How to use the Spike feature to rearrange text in a Microsoft Word document
12:54 How to create a Contents Page or index in a Microsoft Word document
The video tutorial can be accessed here:
Comments are most welcome, if you decide to try this please send us some feedback☺️ Why not visit our channel and browse through our other videos? http://www.youtube.com/c/AnnErasmus
Here are some more videos that may be of interest:
Short Disclaimer/disclosure: My videos/articles are for informational and educational purposes only, you should consult with a professional before attempting anything seen or done in my videos/articles. Please read full disclaimer here: https://basiclowdown.com/disclaimer-disclosure-page/