Learn how to keep your knives in top condition
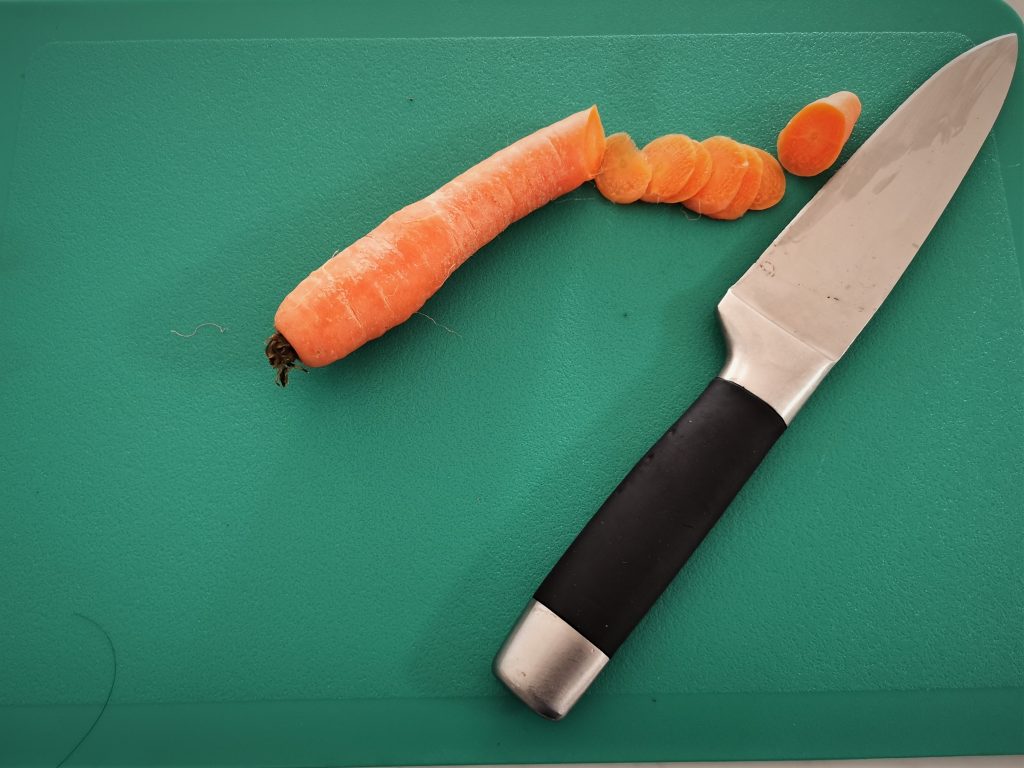
In this tutorial I will show you the technique I use to sharpen my kitchen knives and compare it to 2 other methods. I will keep this as simple and as practical as possible and try and demystify this subject with my quick and easy technique which I have successfully used most of my life.
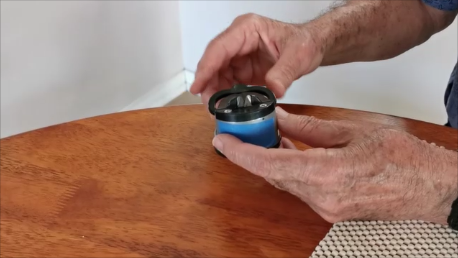
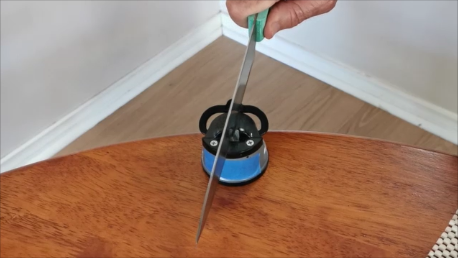
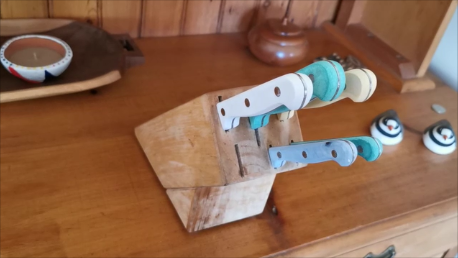
Pull through sharpener
- A popular pull through sharpener with tungsten steel blades or diamond coated pre-set at a fixed angle . Some of these are motorised and make have a choice of angles and coarseness. These sharpeners do not take into account the original angle that the manufacturer ground the blade to. Which is typically 15 to 25°. This device will make the knife sharp in a few strokes but may alter the optimal taper of the blade and they are quite harsh and often leave small gouges on the cutting edge. I would not use these on a good quality knife because the damage to the cutting edge may reduce the performance of the knife and will take a lot of work to restore it. These often suction onto bench top. Make sure you place it near the edge of the counter top to avoid cutting the bench top in the follow through. Hold the blade vertically with cutting edge nearest the handle resting in the jaws of the sharpener. Apply light downward pressure and pull the blade through the jaws keeping all parts of your anatomy well clear of the follow through. You should hear and feel metal to metal scraping and small metal filings should collect around the jaws. Test the sharpness by rubbing your thumb gently across the blade at various points. I personally do not like this method because of the damage to the cutting edge and altering of the original angle of the cutting edge.
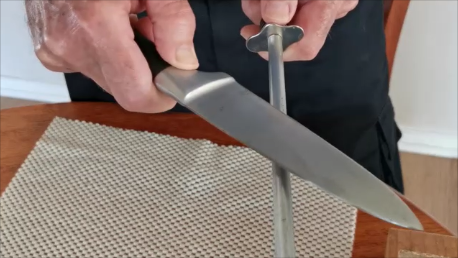
Butchers sharpening rod
2. Butchers sharpening rod. This instrument acts like a file and is minimally aggressive and the blade can be angled to match the original taper of the blade. Place the blade on the rod with cutting edge away from you starting at the base of the blade near the handle. With moderate to firm pressure simultaneously slide the blade away from use and drawer it across the rod ending tip of blade to tip of rod. To hone the other side of the blade place it underneath the rod and repeat the process. Do this several times on each side. Checking the edge by scraping the ball of the thumb across the edge. This method is meant to be repeated almost every time you use the knife it is not suitable to sharpen a knife that has been allowed to become very blunt. Obviously this method requires a small amount of skill to be acquired and requires some dexterity so may not suit everyone. But is a perfectly acceptable way of looking after a quality knife.
Sharpening stone
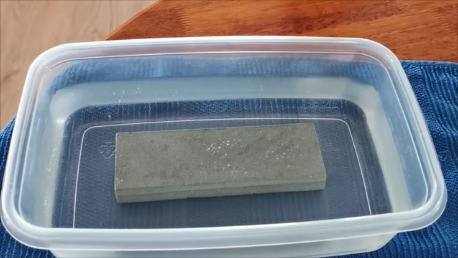
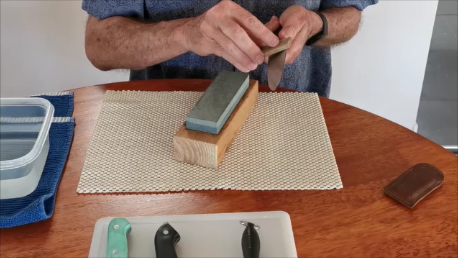
- Sharpening stone. In my opinion by far the most effective and versatile way to sharpen a knife is on a sharpening stone. All sharpening stones need lubrication to prevent clogging with metal fillings. Lubricants include light oil or water some stones need to be soaked in water immediately prior to use. Stones also come in various grit coarseness. Very coarse is about 350 grit medium is about 800-1000 grit while fine is about 2000- 5000. I am not going to get highly text book technical here I am just going to show you the method I use to keep my knives sharp using a cheap double sided soaking stone. This technique was taught to me by an old carpenter and I have successfully used it for many years.Soak stone for about 10 mins in water or lubricate with water or oil if you have a different kind of stone.
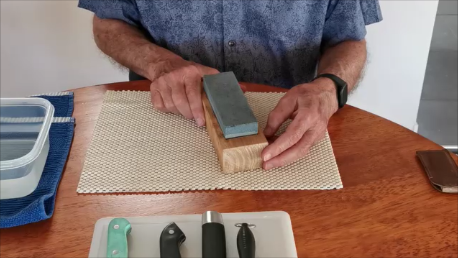
The stone needs to be mounted above the table surface to give your hands an unobstructed glide path. I use a block of wood with a tight fitting recess carved into it. I work with the block on a rubber matt to prevent it from siding around. This allows you to work accurately with both hands.
Start with the coarse side up if the knife is very blunt or if the cutting edge is damaged. About 400 grit. If the cutting edge is not very blunt or damaged then best to use the finer side which is a medium grit about 800 grit.
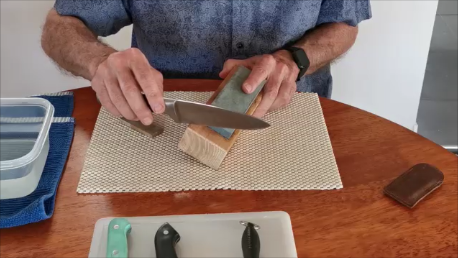
Now this is where my technique may differ from the professionals. I hold the blade at about 45 ° to the stone starting with the tip on the stone nearest me with cutting edge towards me and applying pressure with my left hand. I simultaneously slide the blade across the stone and away from me with the cutting edge always trailing the direction of motion and never leading the direction of motion.
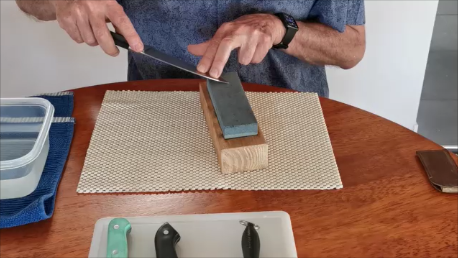
Because if you draw the edge towards you any unevenness in the surface of the stone or any change of angle may have a blunting effect. That is my experience anyway. Notice also that I start with a high angle at the tip and reduce the angle when I am around the curve of the blade. The angle should try and match the manufacturer’s original angle when you are on the straight part of the blade about 15 – 20 degrees I suppose. To do the other side of the blade either switch hands or as I do flip the knife over and do the reverse of the first motion. But making sure the cutting edge is trailing. Try to do the same amount of passes on each side.

Keep checking the edge by dragging the ball of the thumb gently across it, at first you should feel a rough scaping sometimes on one side only. That is good because it means you have your angle correct. If you do not feel a burr then you are too steep or too shallow. To check which it is examine the edge closely you should see a distinct shinny thin line of newly worn metal ( some people use a black felt tip pen to colour the edge to make it easier to see where the wear is). If the wear is away from the edge your angle is too shallow. If the wear is very narrow and is right on the edge but the knife is not getting sharper you may have too steep and angle. Adjust accordingly by trial and error until it is correct. The idea is to have a fairly broad band of wear which is bordered by the cutting edge on one side. If you feel the burr only on one side it means you should do more work on the other side. Eventually you reach a point where both edges give your thumb a distinct scaping feel of a sharp edge. Check that this has occurred all along the cutting edge, the tip often needs more work.
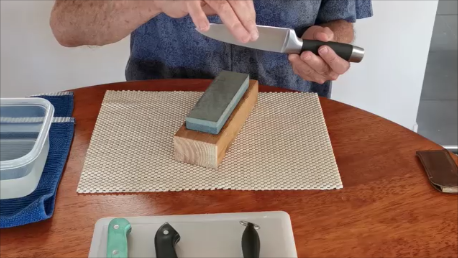
The next test I do is to grip the cutting edge very gently between thumb and forefinger and run lightly the length of the blade. You will probably feel roughness on the edge, the burr. At this stage I switch to a fine hand held stone like hard Arkansas. I slide this stone lightly along both sides of the cutting edge. Repeat feeling with forefinger and thumb until it seems smooth.
Finally I draw the blade lightly over some soft wood.
- Job done.
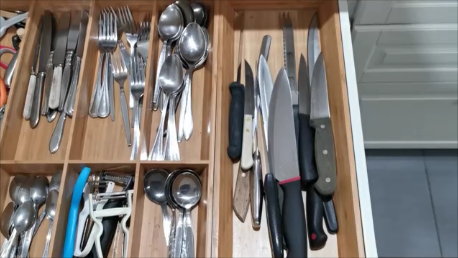
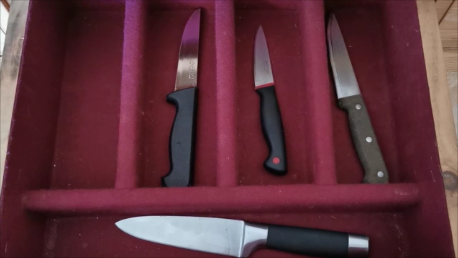
- A few final points. Don’t cut on a surface harder than steel, eg glass, marble, a dinner plate or tile because your knife will get blunt immediately. Don’t chuck a whole lot of knives in a drawer together this will also blunt the edges. Best to keep them separate or in a wooden knife block.
Sharpen regularly with a sharpening rod or a stone And if you value your knife, then avoid the pull through one-size fits all sharpener.
*
Here is a video demonstration of knife sharpening:
Videos
Here are some more life hacks:
Comments are most welcome, try this and send us some feedback☺️ Why not visit our YouTube channel and browse through our other videos? http://www.youtube.com/c/AnnErasmus
Short Disclaimer/disclosure: My videos/articles are for informational and educational purposes only, you should consult with a professional before attempting anything seen or done in my videos/articles. Please read full disclaimer here: https://basiclowdown.com/disclaimer-disclosure-page/