I believe that soldered copper joints for domestic plumbing is still the gold standard, especially if the pipes are to be closed in and are not accessible. The newer plastic type pipes and fittings are all very well but I have heard stories of rats gnawing through them with disastrous results. The big disadvantage of soldered copper joints is time, preparation has to be meticulous.
Do it right once. Here are some common mistakes to avoid when soldering copper pipe to copper fittings.
- De-burr Internal and external
- Clean with steel wool and steel brush pipe outside and fitting inside
- Do not use damaged or dented pipe or fittings
- Dry, dry, dry absolutely no water – cannot solder a joint with moisture
- Don’t use too much or too little flux. Apply flux in a thin layer on outside of pipe and very little on inside fitting just smear layer because excess gets pushed inside pipe
- Assemble making sure is pushed all the way into fitting.
- Protect surrounding – several layers of foil with shining side out as a heat shield
- Make sure work is secure for soldering – remember heat will expand fitting and pipe could drop out, eg clamp pipes into place before soldering
- Concentrate heat in middle of fitting, the solder will flow towards heat –
- Do not over heat flux so keep testing to see if solder is melting yet
- Don’t use too much or too little solder. To much solder could end up in the pipe lumen and interfere with water flow. Rule of thumb, make a bend in solder wire about as long as diameter of pipe.
- Let cool slowly – do not quench with water- make cause cracks or shrink away from fitting
- Clean off excess flux when finished and cool enough to touch with a damp cloth. Flux is an acid and may cause ongoing corrosion of the copper.
Here is a video demonstration:
Time stamped key moments
00:00 Beginning
00:14 Why choose soldered copper pipe
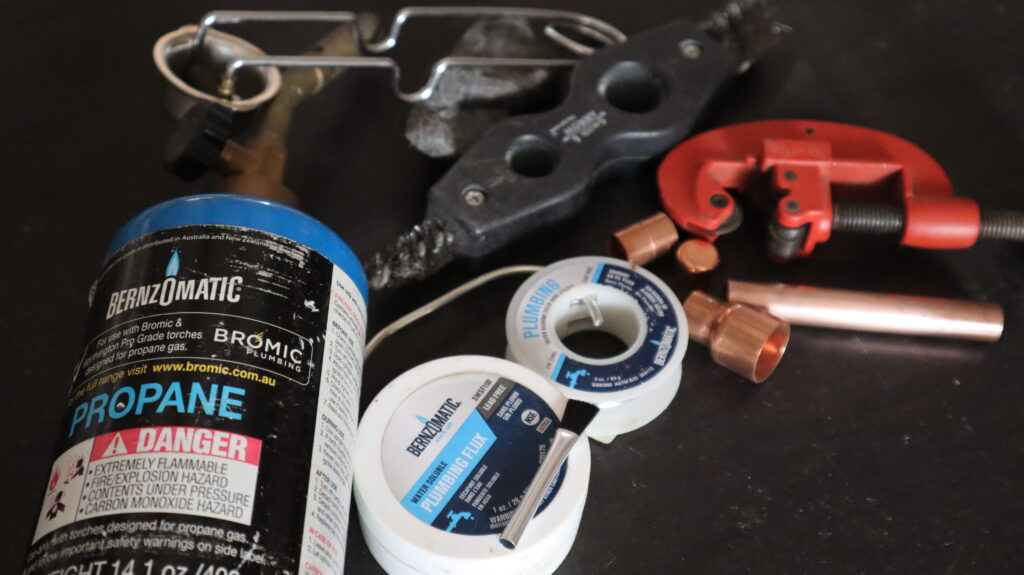
01:00 Materials needed to solder copper pipe
01:45 How and why to deburr copper pipe prior to soldering
03:07 How to ensure copper pipe has entered the fitting all the way
04:14 How to clean copper pipe and fittings prior to soldering
06:52 Remove any moisture prior to soldering copper
07:13 How and why to apply flux to copper prior to soldering
09:00 How to protect the work surface from the propane flame
09:36 how to secure copper joint to the work surface
11:13 How to solder copper pipe to copper fitting
13:12 Importance of slow cooling and removal of flux after soldering
These DIY videos may also be of interest:
Comments are most welcome, try this and send us some feedback☺️ Why not visit our channel and browse through our other videos? http://www.youtube.com/c/AnnErasmus
Short Disclaimer/disclosure: My videos/articles are for informational and educational purposes only, you should consult with a professional before attempting anything seen or done in my videos/articles. Please read full disclaimer here: https://basiclowdown.com/disclaimer-disclosure-page/