Take a screenshot in windows 10 in 2021
This video tutorial shows the 5 most common and easiest ways to take a screenshot, print screen, copy screen in windows in 2021. Whatever you want to call it is an essential skill needed to function in our digital world. Many of us use a favourite method to print screen or screenshot all the time, that’s fine but it is worthwhile understanding all the common options to take a screen shot because the best method is task dependant. That means the easiest and simplest method depends on the task you are performing as I explain in this video.
Here are my 5 best methods to take a screenshot or print screen in 2021.
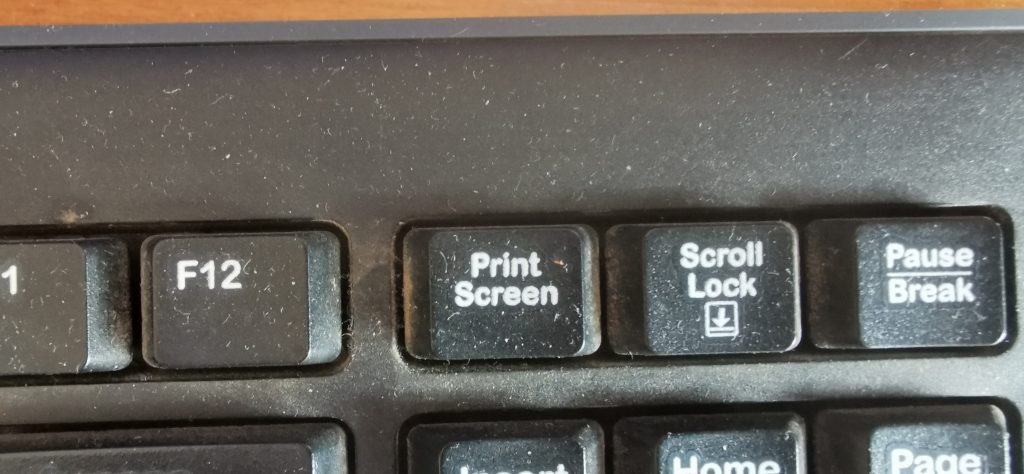
- Press print screen key (prtscn) top right – captures entire screen and saves it to clip board – then need to paste to word or paint and edit and save
- Pressing Alt-prtscn together will do the same but instead of whole screen it just captures the window you are working in. If that window covers the whole screen then the end result is the same as pressing print screen alone. Your copy of the screen will be temporally saved on the clipboard so you will also need to paste it into another program like word to be able to view and save it.
- Pressing the Windows key and Print screen keys (prtscn) together – your screen will dim for a second and this will print entire screen and save it to the Pictures folder in a sub-folder called Screenshots.
- 4. Open the old Snipping Tool – choose the mode you prefer– select new – select an area of the screen by left clicking and dragging – the Image comes up in a new window which you can edit or annotate – now save to where you want it and in the file format of your choice. The Snipping Tool can be found by searching or clicking on the windows icon (start menu) on bottom left of screen. It may be found under Windows-Accessories if you would like to pin it to the task bar then right click and select from the drop-down menu.
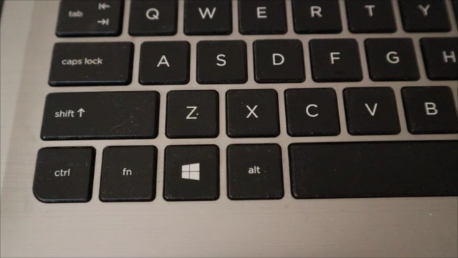
- 5. The Rolls Royce of screen shot tools is the Snip and Sketch tool. Either find it in the program menu or for a short cut press Shift-Windows-S keys together. Screen will dim, now select the mode you want rectangle, free hand, window, or full screen. There are a host of editing options and sharing options. It Can be saved directly as PNG,GIF or Jpeg. The Snip & Sketch Tool can be pinned to the task bar by right clicking on it in the program menu and selecting ‘Pin to taskbar’ from the drop-down menu.
Here is a video demonstration of screenshots in Windows:
Time stamped key moments in the video
00:00 Beginning
01:06 Screenshot method 1 – full screen – Print Screen key
01:56 Screenshot method 2 – active window only – Alt-Print Screen keys
02:56 Screenshot method 3 – full screen saved to Pictures – Windows-Print Screen keys
04:03 Screenshot method 4 – various options – Windows Snipping Tool
07:38 Screenshot method 5 – Various options – Windows Snip & Sketch Tool
10:29 Thanks for watching please like, share and subscribe
Comments are most welcome, try this and send us some feedback☺️ Why not visit our channel and browse through our other videos? http://www.youtube.com/c/AnnErasmus
Here are some more videos that may be of interest:
Short Disclaimer/disclosure: My videos/articles are for informational and educational purposes only, you should consult with a professional before attempting anything seen or done in my videos/articles. Please read full disclaimer here: https://basiclowdown.com/disclaimer-disclosure-page/